Description
PHP Firewall protects your site by blocking abusive visitors as early as possible in the request, before WordPress finishes loading.
When protection is enabled, every request is checked:
- If the visitor IP is already a known offender, it gets a 403 Forbidden.
- If the IP matches one of your manual deny rules (single IP, CIDR block or hyphen range, IPv4 or IPv6), it gets a 403.
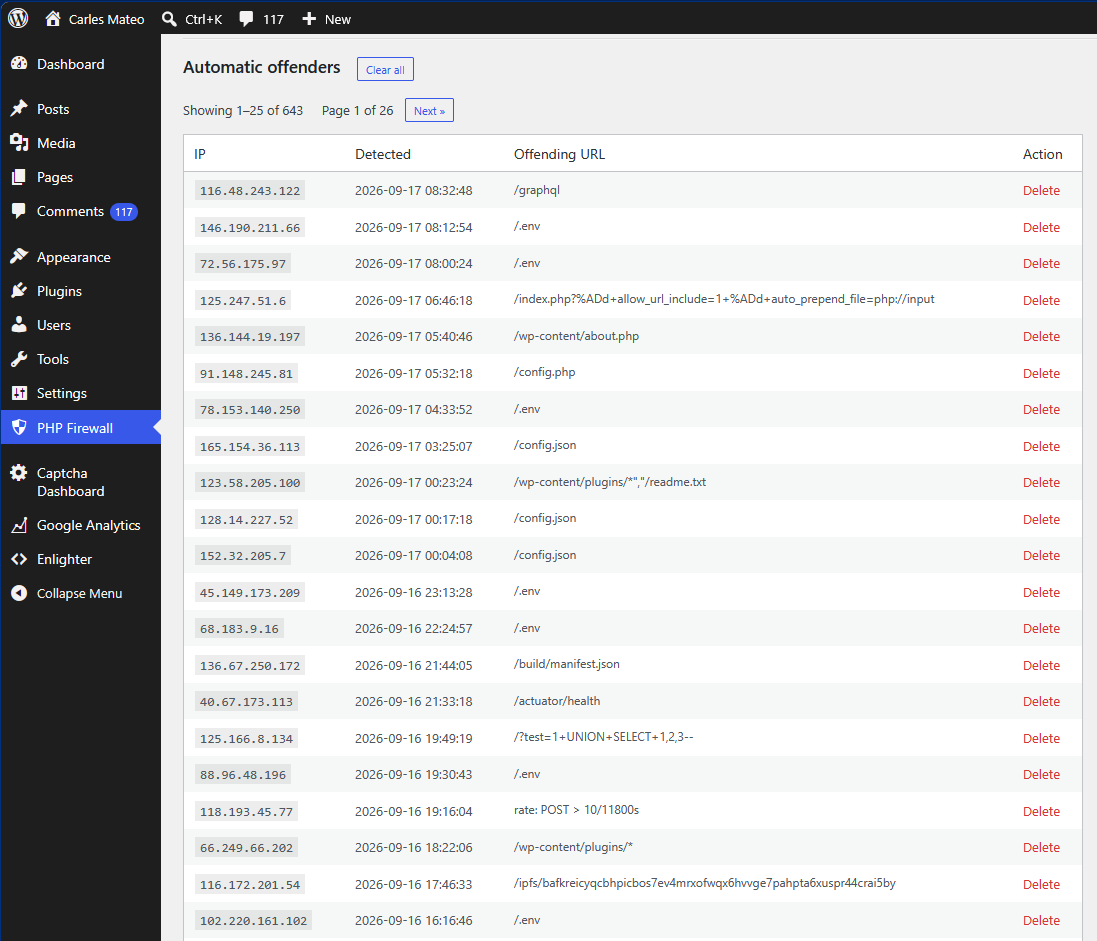
- Otherwise the requested URL is inspected. If it matches a scanner signature, the IP is recorded and the request gets a 403.
Built-in scanner signatures: .env, wp-config.php, .git.
You can add your own substring patterns too.
Proxy / CDN aware
Choose which header carries the real visitor IP: REMOTE_ADDR,
Cloudflare (CF-Connecting-IP), Fastly (Fastly-Client-IP), X-Forwarded-For,
X-Real-IP, or a custom header — so the plugin works correctly behind nginx,
Varnish, a load balancer or a CDN.
Runs early
When protection is enabled, the plugin installs a tiny must-use loader so the deny check
runs on muplugins_loaded. If the mu-plugins directory is not writable, it falls
back to plugins_loaded.
Exports
- CSV of the automatic offenders (optionally including the detection timestamp).
- A ufw script, e.g.
ufw insert 1 deny from 185.225.69.214 to any.
Specifications
PHP WP Firewall
- Unlimited manual deny rules
- IPv4 and IPv6 support
- Unlimited custom URL patterns
- Unlimited stored automatic offenders
- Record latest requests
- Show IPs with most requests in the last 24 hours
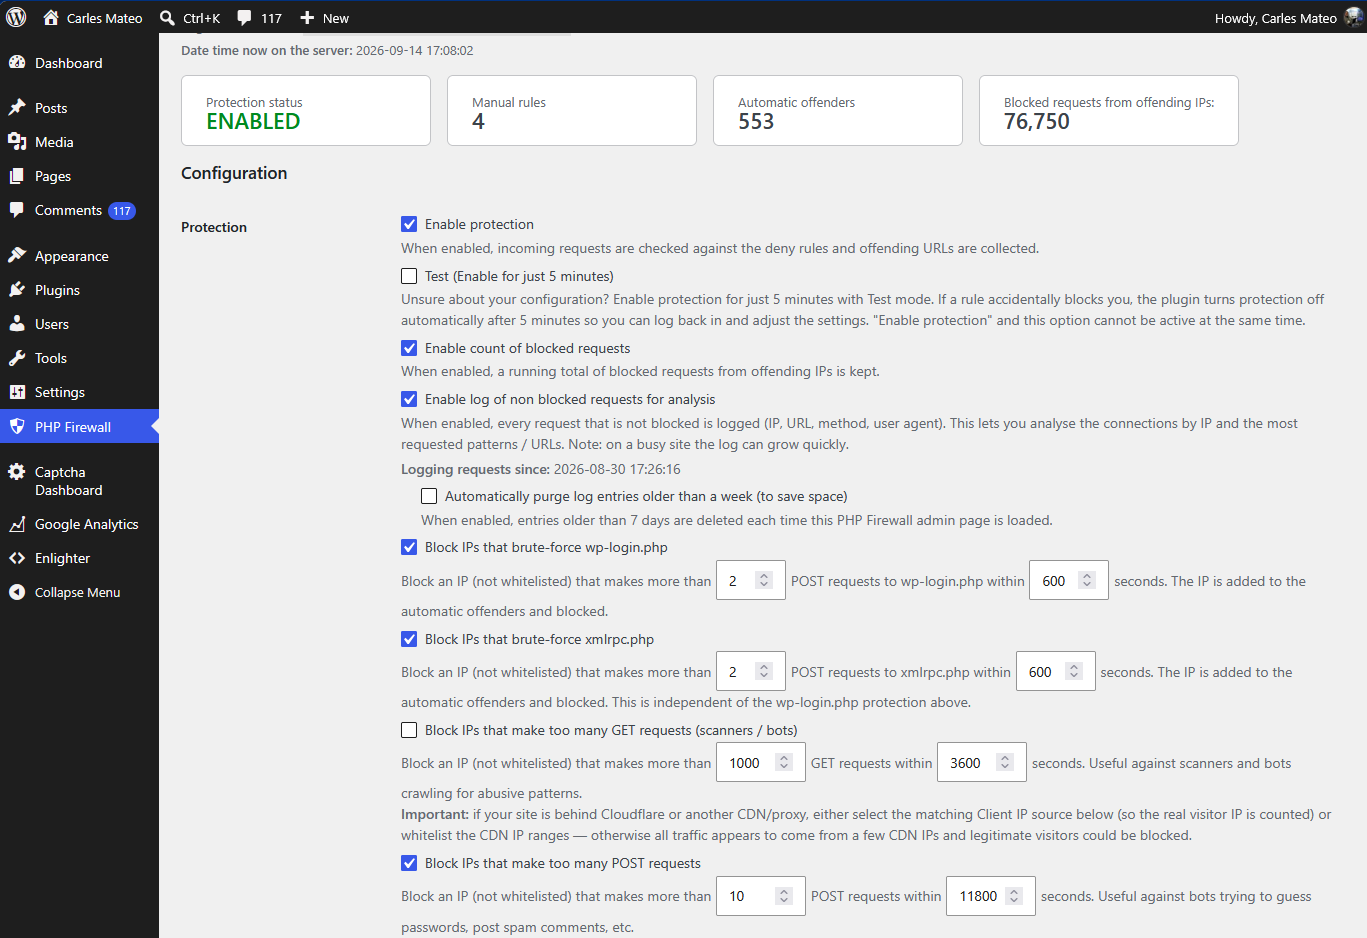
- Block IPs based on number of requests on a given interval
- Automatic updates
Installation
- Upload the
php-firewallfolder to/wp-content/plugins/, or install the zip via Plugins → Add New → Upload Plugin. - Activate PHP Firewall through the Plugins menu. The database tables are created on activation.
- Open PHP Firewall in the admin menu.
- Set the Client IP source to match your hosting (behind Cloudflare, Fastly, nginx, etc.).
- Click Enable protection.
Frequently Asked Questions
Does it work behind Cloudflare, Fastly or a reverse proxy?
Yes. In the settings, choose the header that carries the real client IP for your setup. Only trust a forwarded header if your server genuinely sits behind that proxy, otherwise the value can be spoofed.
What happens when protection is disabled?
Nothing is blocked and no offenders are collected. Your existing rules are kept.
Where is the data stored?
In three custom tables: cmwpfw_firewall_config,
cmwpfw_firewall_manual_ip_deny_rules and
cmwpfw_firewall_automatic_ip_deny_rules.
Can I export the blocklist to my server firewall?
Yes. Export the automatic offenders as a ufw script or as CSV from the settings page.
Screenshot